Introduction to DaVinci Resolve for Color Correction
By Juanmi Cristóbal
, Video Editor and Director of Photography
Learn the tools to apply color correction to your audiovisual products from scratch
- Domestika Basics 5 coursesBest seller Spanish with subtitles in English
- 95% positive reviews (300)
- 13352 students
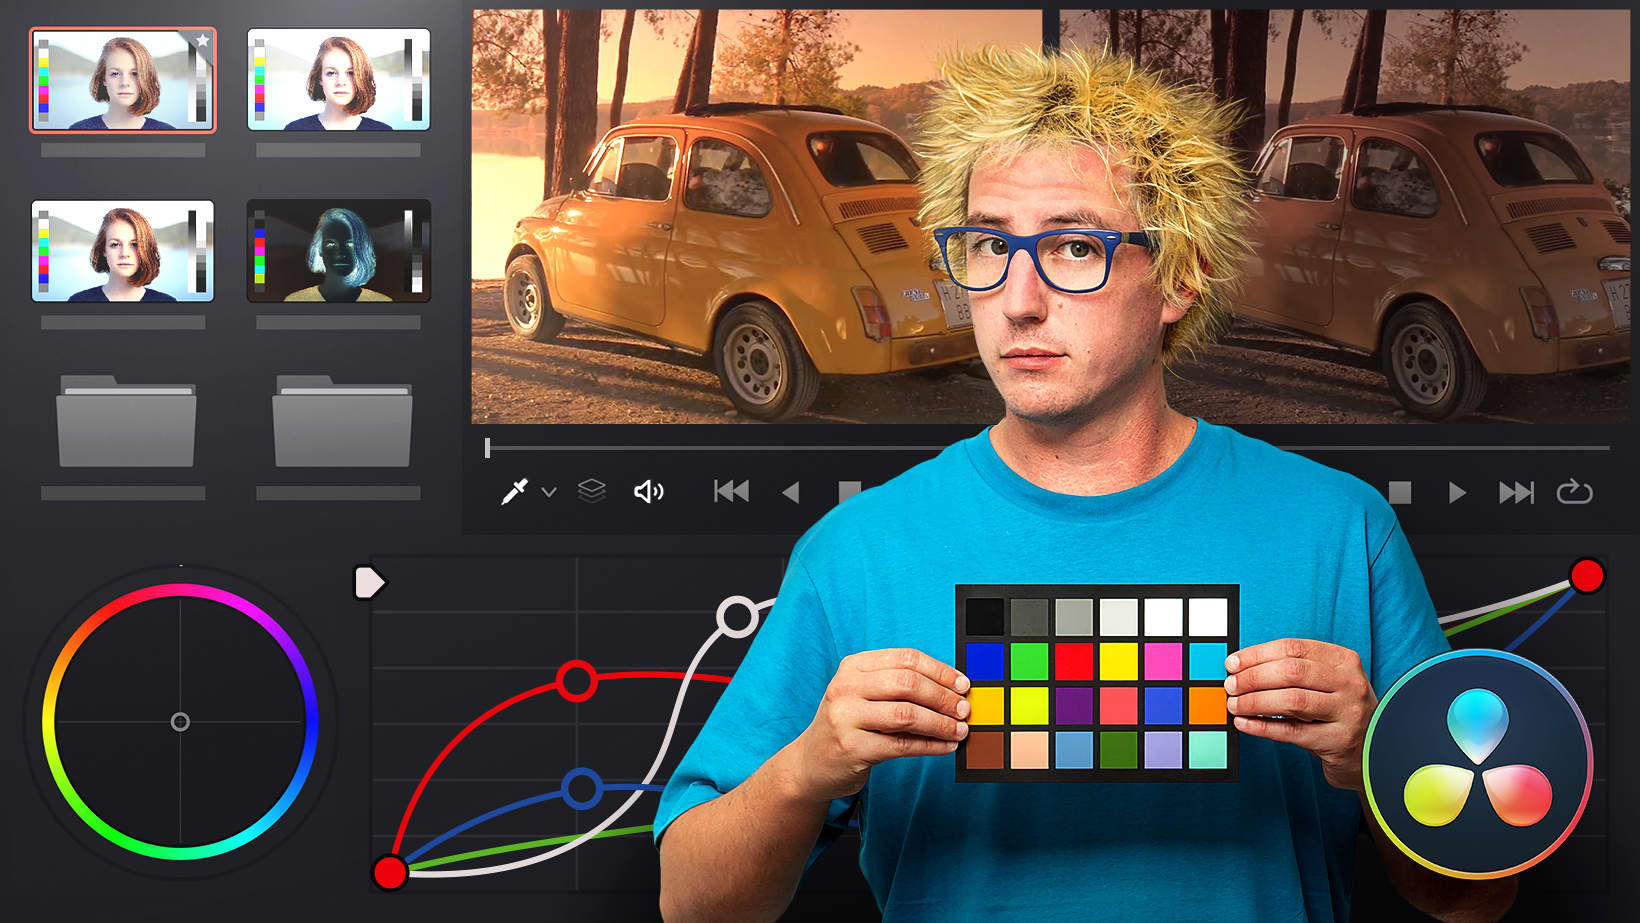
Learn the tools to apply color correction to your audiovisual products from scratch
Domestika Basics · 5 courses included
-
Course 1 - Introduction to Color Correction
By Juanmi Cristóbal
Take your first steps with DaVinci Resolve by exploring its interface
-
Course 2 - Primary Corrections
By Juanmi Cristóbal
Learn how to make basic colorimetry adjustments in your projects
-
Course 3 - Secondary Corrections
By Juanmi Cristóbal
Discover DaVinci Resolve’s advanced colorimetry tools and apply them to your projects
-
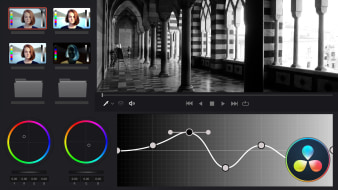
Course 4 - Designing Creative Styles
By Juanmi Cristóbal
Give your projects a unique look using creative color grading tools
Ready to explore the industry-leading software for adding a specific style of color, brightness, and contrast to your audiovisual pieces? Juanmi Cristóbal—founder of the production company Fourminds—is prepared to guide you through the ins and outs of DaVinci Resolve and help you do just that.
Get started by learning what color grading is and how it can enhance your work before taking your first steps with DaVinci Resolve. Explore and configure the interface and discover the process of exporting your projects from a video editing program.
In the second course, dive into primary corrections—those that are applied to the entire image—and automatic corrections. Then, learn how to optimize brightness and color balance and work on both neutral and your own style of grading.
Next, move on to applying secondary corrections, which are those that are applied to specific areas of the image. Learn to use specific colors and inverted nodes before progressing to Power Windows and tracking.
Once you’re familiar with the tools, go hands-on with the most creative tools used for color grading. In this course, expand your knowledge of black-and-white shots, bleach bypass and stabilization effects, noise reduction, and other useful resources for your audiovisual projects before working with the Magic Bullet Looks plug-in.
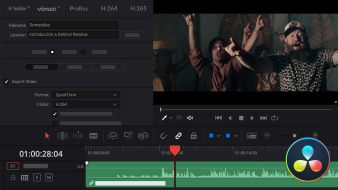
In the final course of this Domestika Basics, focus on the process of exporting your project. Explore the interface of the Delivery module and discover the different codecs and formats on the market. Wrap up the course by learning to consolidate your files for export and create other configurations that facilitate collaboration with other post-production professionals.
Technical requirements
- ⦁ A computer running Windows 10 or macOS 10.13.6 Sierra (or higher)
⦁ DaVinci Resolve 16 (You can download the free version of the program from the manufacturer's website.)
⦁ A powerful graphics card running CUDA is recommended
- 95% positive reviews (300)
- 13352 students
- 38 lessons (3h 27m)
- 5 courses
- 10 downloads (5 files)
- Online and at your own pace
- Available on the app
- Audio: Spanish
- Spanish, English, Portuguese, German, Italian, French, Polish, Dutch
- Level: Beginner
- Unlimited access forever
Reviews

Juanmi Cristóbal has experience in a variety of fields, ranging from graphic design—which he studied in his hometown of Zamora, Spain—to photography, post-production, and video recording and editing.
In 2016, he joined his partners Javier Barbero and Sergio Llast to create the AV production company Fourminds. They work in both film and advertising with clients like Samsung, Wacom, Rolling Stone, and Canal Sur.
In addition to teaching at Domestika, he shares his knowledge of technical photography, Premiere Pro video editing, and DSLR video recording with students at the Escuela Arte Granada.
Content
Course 1 - Introduction to Color Correction
-
U1
Presentation
-
Presentation
-
-
U2
Why correct the color of our work. Objectives of grading
-
Why correct the color of our work. Objectives of grading
-
-
U3
Explore the interface of the Color module of DaVinci Resolve I
-
Explore the interface of the Color module of DaVinci Resolve I
-
-
U4
Explore the color module interface of DaVinci Resolve II
-
Explore the color module interface of DaVinci Resolve II
-
-
U5
Organize a project Import from Premiere Pro
-
Organize a project Import from Premiere Pro
-
-
U6
Configure essential settings according to the project
-
Configure essential settings according to the project
-
-
U7
Nodes What are they and how do they work
-
Nodes What are they and how do they work
-
-
U8
Practice
-
Practice
-
Course 2 - Primary Corrections
-
U1
Presentation
-
Presentation
-
-
U2
Make automatic corrections
-
Make automatic corrections
-
-
U3
First corrections. Optimize brightness and color balance
-
First corrections. Optimize brightness and color balance
-
-
U4
Evaluate the settings using graphical representations
-
Evaluate the settings using graphical representations
-
-
U5
Perform a neutral grading with the primary adjustment bars
-
Perform a neutral grading with the primary adjustment bars
-
-
U6
Create a style using the main controls
-
Create a style using the main controls
-
-
U7
Refine styles by using additional controls
-
Refine styles by using additional controls
-
-
U8
Use of curves to make primary corrections
-
Use of curves to make primary corrections
-
-
U9
Copy styles between similar shots
-
Copy styles between similar shots
-
-
U10
Practice
-
Practice
-
Course 3 - Secondary Corrections
-
U1
Presentation
-
Presentation
-
-
U2
Use of Specific Colors
-
Use of Specific Colors
-
-
U3
Use of inverted nodes
-
Use of inverted nodes
-
-
U4
What are Power Windows and what are they for?
-
What are Power Windows and what are they for?
-
-
U5
Power Windows Tracking
-
Power Windows Tracking
-
-
U6
Practice
-
Practice
-
Course 4 - Designing Creative Styles
-
U1
Presentation
-
Presentation
-
-
U2
Creating a black and white shot
-
Creating a black and white shot
-
-
U3
Use a conversion table (LUT) to create styles
-
Use a conversion table (LUT) to create styles
-
-
U4
Create a bleaching hop
-
Create a bleaching hop
-
-
U5
Using the Magic Bullet Looks external plugin
-
Using the Magic Bullet Looks external plugin
-
-
U6
Effects Stabilization and noise reduction
-
Effects Stabilization and noise reduction
-
-
U7
Save color settings in different projects
-
Save color settings in different projects
-
-
U8
Practice
-
Practice
-
Course 5 - Exporting
-
U1
Presentation
-
Presentation
-
-
U2
Delivery module interface
-
Delivery module interface
-
-
U3
Codecs and formats
-
Codecs and formats
-
-
U4
Create a default configuration. Export for other professionals
-
Create a default configuration. Export for other professionals
-
-
U5
Consolidate files
-
Consolidate files
-
-
U6
Practice
-
Practice
-
See the content of the 5 courses
About Domestika Basics
Domestika Basics is a series of courses focused on teaching the most commonly used software by creative professionals worldwide.
The content has been meticulously curated and is intended for both students going into a new creative field and more experienced professionals who want to polish their skills.
Learn with the best Domestika teachers through practical lessons, tons of resources, and a progressive difficulty that'll allow you to see results from day one.
Domestika Basics will allow you to step up your professional game and be prepared to score better projects.
-
Without prior knowledge.
Domestika Basics gives you everything you need to get started in a new creative field and become an expert in it.
-
Focused on the tool.
Discover its main components, techniques, and the tried-and-true methods you need to master it.
-
Learn fast
With a straightforward, step-by-step approach, our outstanding professionals will teach you how to get the most out of the program.
-
Certificates Plus
If you're a Plus member, get a custom certificate signed by your teacher for every course. Share it on your portfolio, social media, or wherever you like.



cubicolabdesign
Muy buen curso para principiantes. Muy buen estructurado. Ideal para empezar con Davinci y el etalonaje. Recomendable.
View translation
Hide translation
rafaribasdesign
Curso excelente. Bem estruturado e de fácil entendimento.
View translation
Hide translation
paulus.np
Nice course!
jc_fernandez_e
Excelente curso, me gustaría uno en el que se juntara Adobe Premier Pro con After Effects y Davinci Risolve
View translation
Hide translation
narcisorojasgomez
Un curso muy bien estructurado. Magnífico para iniciarse en el etalonaje y querer seguir aprendiendo.
View translation
Hide translation