After Effects Tutorial: How to Animate from Scratch with Keyframes
Learn to master different Adobe After Effects tools to create simple animations and achieve realistic movements
If we talk about Motion Graphics, Adobe After Effects is without a doubt the software perfect for creating any type of animation. The limit is in your imagination and of course, in your mastery of the different work tools.
The graphic designer Borja Holke (@holke79), specialized in motion design, has worked in different advertising agencies and has a wide portfolio, ranging from headers for various television programs, social media campaigns, to music videos.
In this tutorial, Borja teaches you how to create simple animations with professional results thanks to the keyframe tool. If you are starting out in the world of graphic design, you can't miss the following video.
How to animate from scratch with keyframes, step by step
To get started, these are the materials needed to start animating:
- Laptop or desktop computer.
- Software After Effects within the Adobe CC package.

1. Create the figure or element that you are going to animate
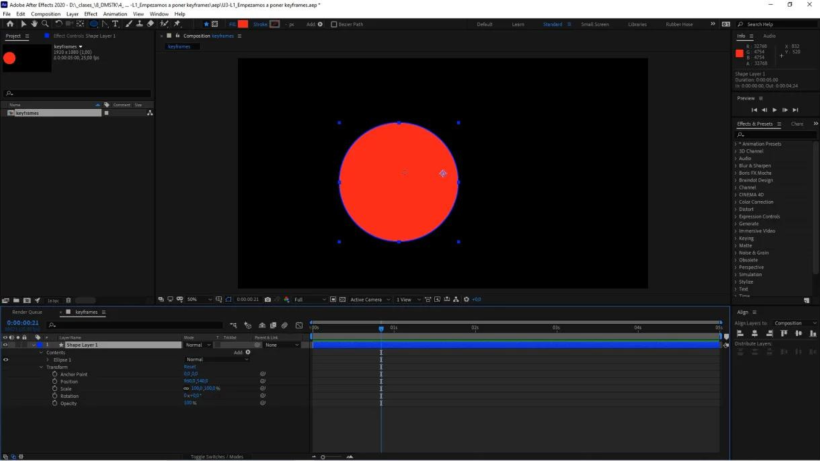
The first thing you should do, once After Effects is installed on your device, is open the program. Once you have the interface displayed, you are going to start by creating the element you want to animate. For this exercise Borja recommends you start with a simple shape like an ellipse. In the upper tool bar select “ellipse” and with the “shift” key pressed, draw a sphere of the size you prefer.
2. Place the Anchor Point in the center of the figure
With the ellipsis created it is time to start animating. The key element of any animation is the Anchor Point, that is, the point from which all the transformations that you execute on the ellipse start. As you can see, said point is off-center, the position of the Anchor Point must be modified depending on the type of movement you want to generate. In this case, you are looking for a horizontal movement in a line, therefore, you must place this point in the center of your figure.
To do this, use the “Y” key shortcut, this way you can move the point throughout the screen. A trick that will allow you to place it at strategic points of the ellipse is to press “Ctrl” in Windows or “Cmd” for Mac, you will see that if you move it, it is automatically placed at the ends or the center of the ellipse. figure, right where you have to place it.
Finish positioning the ellipse in the center of the screen. Select the layer and in the alignment panel, located in the lower right corner of the screen, click the center icons both horizontally and vertically.
3. Start animating the position of the ellipse
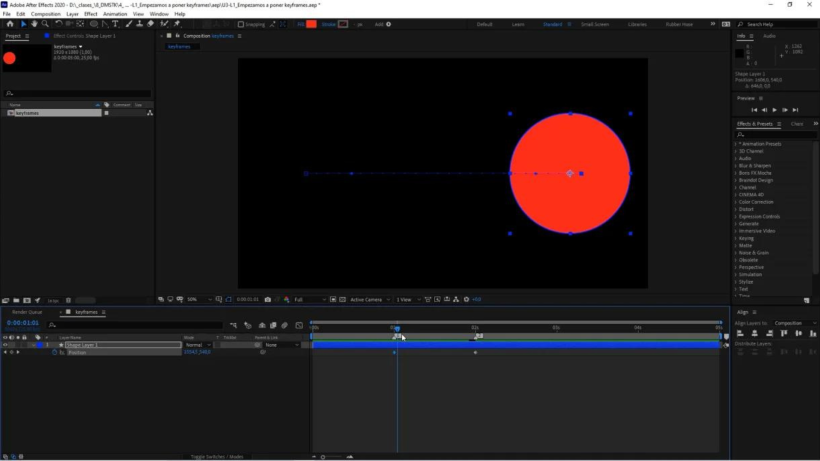
Now you can start animating your figure. With the layer selected, press the letter “P” on the keyboard and you will see the “Position” sub-item displayed. You will create Markers along your timeline, this will allow you to jump from one point to another quickly and accurately. Press “Shift” + “1” on the point where you want the animation to begin and “Shift” + “2” on the end of it.
In point 1, you are going to generate a keyframe, you just have to click on the clock icon located to the left of “Position”. Go to point two, and move the ellipse to the area of the screen where you want the scroll to end. As you can see, a second keyframe has been generated automatically. If you hover over the first keyframe, you can move the figure so that the animation begins at the other end of the screen.
You already have your animation created, remember that to see it in real time, you must delimit the preview area with the timeline controllers. You can modify the speed of the scrolling together or separating the keyframes.Press the space bar to see the result.
4. Smoothes the scroll
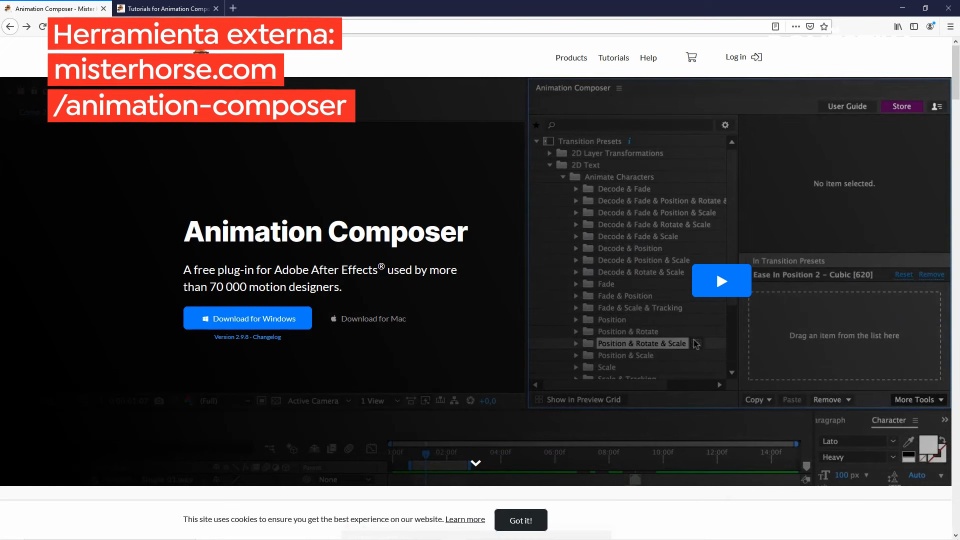
As you can see, the movement is somewhat robotic and is not entirely realistic. To add more dynamism to the animation you are going to install a free external tool, Animation Composer. Directly download the tools based on your operating system installed on your computer and finally, close After Effects. When you open it again you will have the tools available.
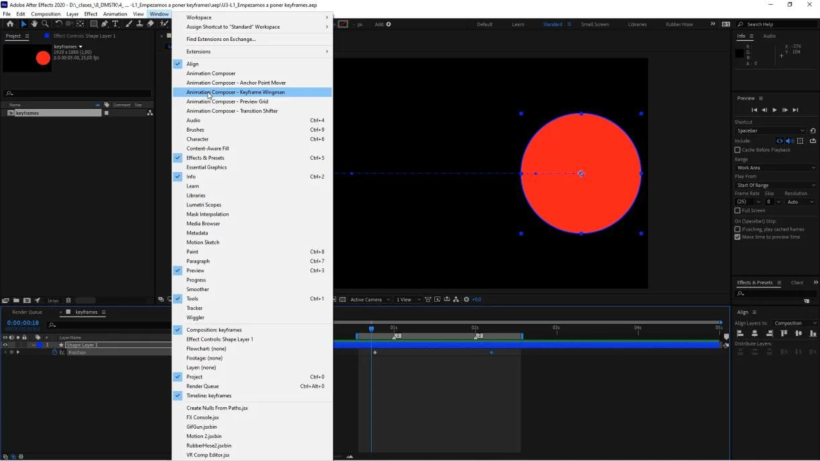
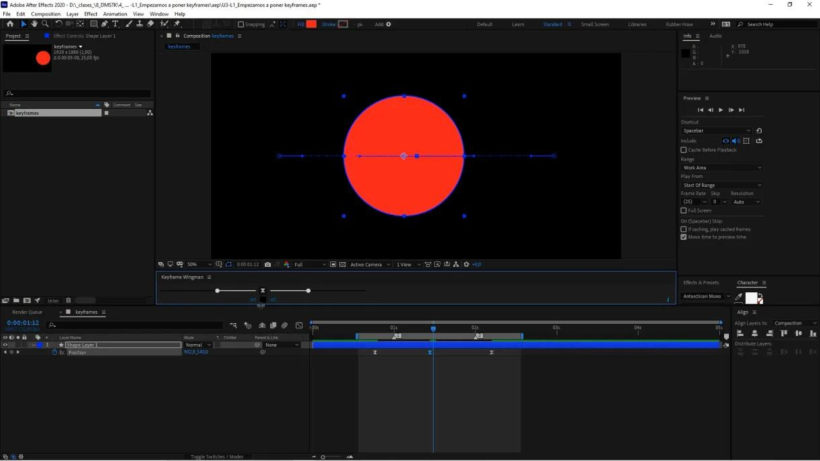
In the top bar, click on “Window” and you will see that different tools are displayed that you can work with, but now you are only going to select “Keyframe Wingman”. Once you click, a pop-up window will appear, which you should place under the ellipse for greater convenience.
Next, select the keyframes by clicking on “Position” and use the “sliders” that have appeared with the pop-up window to give different smoothing values depending on the effect you are looking for, you can view the result at real time.





0 comments