Crochet Tutorial: how to crochet amigurumi beards and mustaches
Learn how to personalize your amigurumi dolls by weaving original beards or mustaches and download the pattern for free
amigurumis are crochet characters that were born in Japan and are part of the kawaii culture. With a clear reference to the adorable or cute, they transmit sweetness and have become a true art that invites us all to immerse ourselves in a fantasy world. With infinite universes , characters and shapes possible through the use of the crochet or crochet technique, amigurumi is an incredible way to let your imagination fly and create unique dolls and shapes.
Ameskeria (@ameskeria) is a designer, photographer and crochet specialist. With her amigurumi designs, she has created a fantastic world in which she breaks stereotypes and shows us that the masculine and feminine coexist and merge to create unique characters.
In the video tutorial that you will see below, the designer teaches you how to crochet beards and mustaches with which to personalize your amigurumis and achieve professional results. And she keeps reading because at the end of the article you can download the artist's beard and mustache pattern for free.
Materials needed to weave your beards and mustaches
In order for your amigurumi to go through a wardrobe and hairdresser and you can weave a beard or mustache, you will need the following essential materials:
- Crochet hooks
- Wool of the color and thickness that you like the most
- Stitch markers
- Sewing scissors
- Wool needle

How to weave beards and mustaches, step by step
1. Knit a pointed beard
This type of beard is long and conical in shape. To begin, you must make a magic circle. Start by drawing a circle with your yarn and on it, knit 6 single crochets. Once done, pull the excess thread to form the circle and knit a slip stitch to close the piece.

2. How to create a conical shape
To be able to create this effect, you should not follow the rule of increasing in all rounds, but you are going to increase in one round and not in the next, so consecutively so that the fabric expands and gathers, creating the desired shape.
Start by giving the first point and mark it with a point marker to always know the starting point. Next knit the remaining 5 stitches of the round. Now you have to increase, that is, go from 6 stitches to 12, you just have to knit two stitches in the same base stitch.
Continue knitting and this time, make a normal round of 6 stitches, so that the fabric that you have expanded is collected again, thus forming a conical structure. To increase, follow the classic rule, maintaining the base stitch, making two in the next one and returning to one. You must continue knitting until you get 42 stitches in total.
3. Finish off the amigurumi's beard
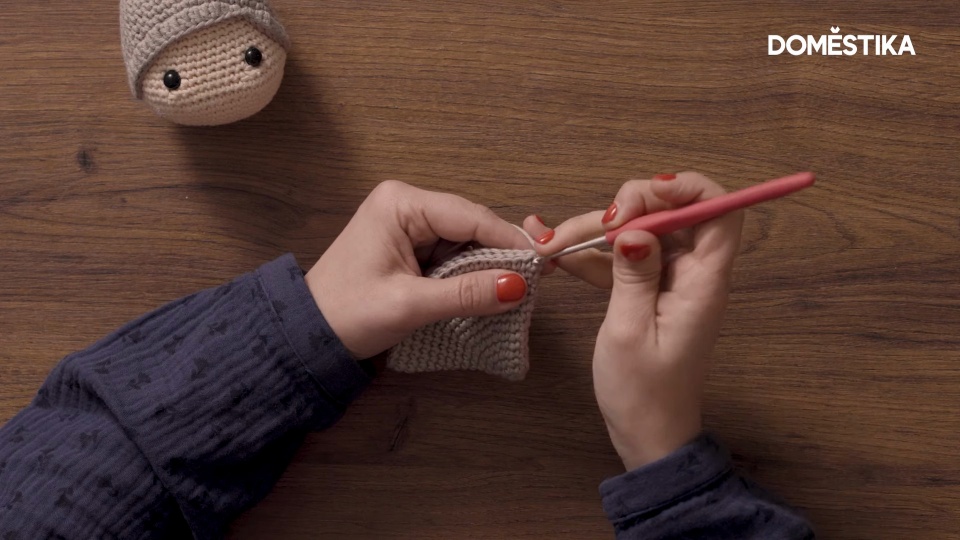
You have managed to form this conical beard and now it is time to sew it to your amigurumi's face. You are going to use your own crochet hook and the remaining wool to join both ends of the beard. To do this, you must get into the stitch at one of the ends and remove the strand from the back stitch. Close with a single crochet and repeat this process to the opposite end of the piece.
It is very important to get enough fabric space to sew to the face without the beard losing length, so you are going to make a chain, turn it around and weave another line of tips towards the opposite end.
4. Sew the beard to the character's face
Before cutting the excess thread, leave a long thread that you will use to sew the piece to the head of your amigurumi. Use the crochet hook so that the thread goes to the other side and finish off the end. Place the beard in the area you like the most and with a wool needle begin to attach it to the character's face.


0 comments